
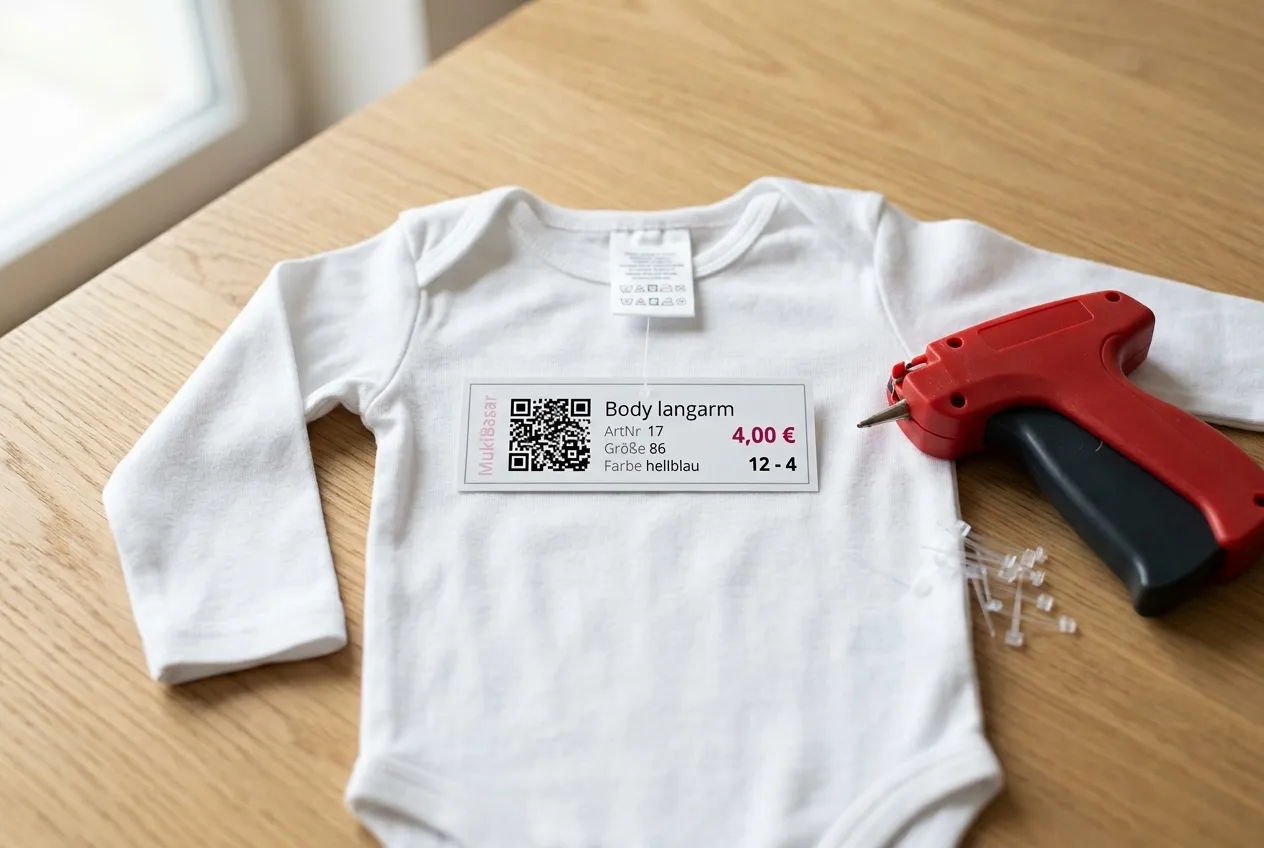
If you take one sentence from this article, make it this one: Print the labels from the app on card stock, cut them with a ruler and a craft knife, and shoot them through the care tag with a tagging gun. About five seconds per item, no hole in the fabric, and the label survives every round of rummaging at the bazaar table.
I did my first bazaars with tape, like most people. It works. It just doesn’t work well: nothing sticks to fleece, half of it lets go of cotton by Sunday, and on dark clothes peeling it off leaves a pale mark. At some point an acquaintance told us about the special tagging guns that retail shops use. And sure enough: among seasoned bazaar sellers, working with one seems to be a real insider tip. Since then we do it the way I describe here.
What you need
- An ordinary printer. The A4 sheet from the app holds 16 labels per page.
- Card stock or a full-sheet adhesive label. Either 160 g printer paper (affiliate link), which a home printer still feeds without complaint – or self-adhesive A4 sheets, one label per page (affiliate link), which you stick onto an empty cereal box.
- A craft knife, a ruler, a cutting mat. Scissors work too, but with a knife the edges are straight and you’re twice as fast.
- A tagging gun with plastic fasteners – I use this set with spare needles (affiliate link), which lasts for many bazaars.
One evening, one kitchen table, one podcast. That’s all it takes.
1. Print: on card, not on copy paper
Finalize the prices in the app first, then print – not the other way round. What’s on the label has to match the price in the app at checkout, otherwise the item won’t go through. The labels guide has the exact steps: in My items tap the plus, choose Print labels, select the items and pick the A4 sheet format.
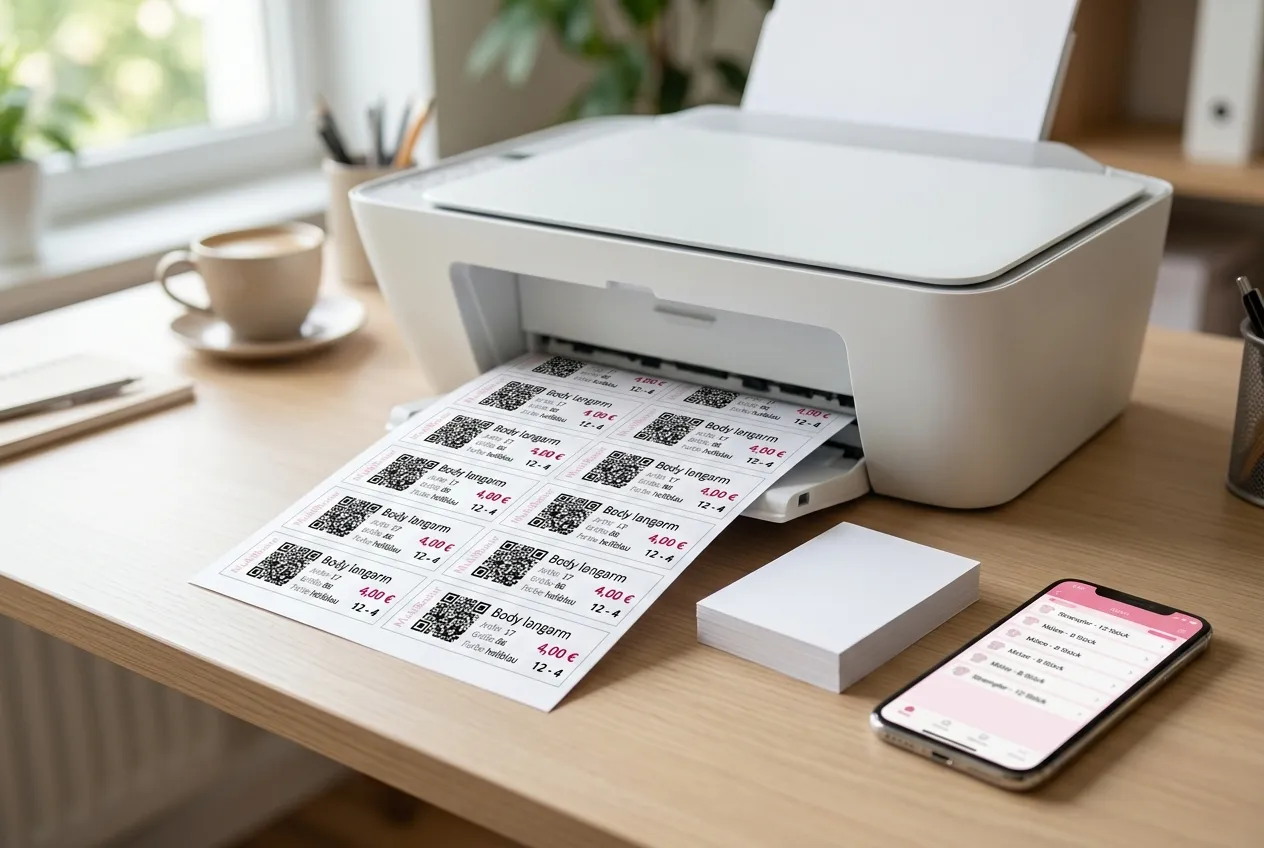
There are two routes for the material, and both work:
- Card stock, 160 to 200 g/m². Most printers take it through the rear tray. The label is then stiff enough not to curl, and the QR code lies flat.
- Full-sheet adhesive label plus cardboard. A self-adhesive A4 sheet without a grid, one label per page. Print on it like on normal paper, peel off the backing and stick the whole sheet onto a cereal box or a shipping carton. That gives you the sturdiest label you can get, and it costs next to nothing.
What doesn’t work: pre-cut label sheets with 16 fields, for example 105 × 37 mm. The app’s grid is just under 35.5 mm high. The first row still lines up; by the eighth, the print is more than a centimetre off. So cut them yourself.
When printing, choose actual size or 100%, not “fit to page”. The thin grey lines around each label are your cutting lines – if the printer clips them at the edge, that’s fine, the inner lines are enough.
2. Cut: ruler down, knife through
On every sheet the 16 labels are framed by a thin grey line. Lay the ruler on the first horizontal line, hold it down with your whole hand and pull the knife through once. Then the next line. All the rows first, then the single vertical cut down the middle – nine cuts and you have 16 finished labels.
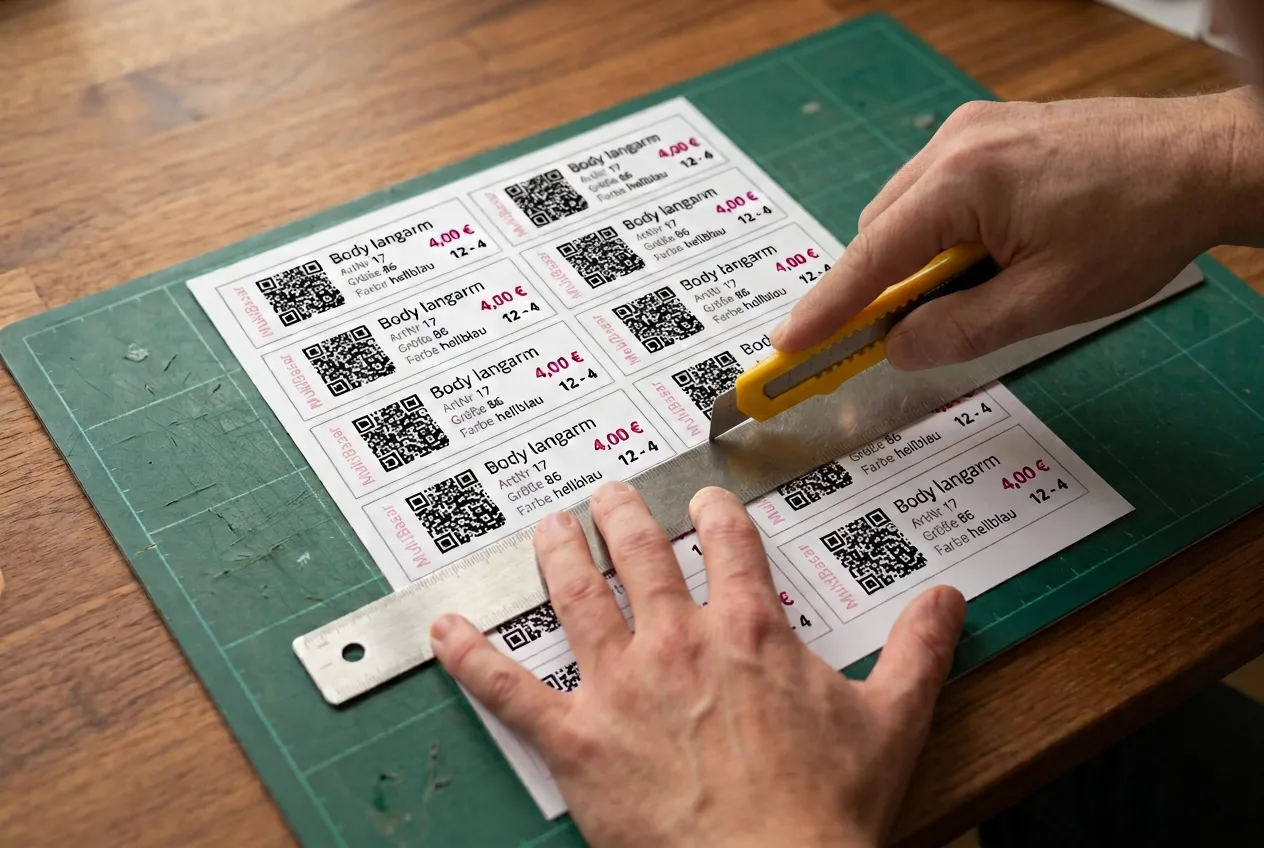
Two things I got wrong at the start:
- Cut outside the line, not through the code. The QR code needs a small white margin all round, otherwise the till reads it less reliably. The grey line is the outer edge, not the middle.
- Fresh blade. A dull blade tears the card instead of cutting it, and the edge frays. A snap-off blade costs nothing; one segment per bazaar is enough.
And please: a cutting mat. The kitchen table won’t forgive you otherwise.
3. Attach: through the care tag with the tagging gun
Here’s how the thing works: a hollow needle at the front, a magazine of plastic fasteners on top. You squeeze, the needle goes through the label and the fabric, and a small T-shaped fastener comes out of the needle and stays on the far side. Done. No tape, no knot, no safety pin.
The one thing that matters: shoot through the care tag or a seam, never through the fabric. The neck tag of a bodysuit, the wash label in the side seam, the waistband of trousers. The weave there is dense and folded several times, and the puncture is invisible once the fastener is removed. In the fabric itself, fine knits or fleece can develop a run – and that is exactly why many bazaars ban pins.
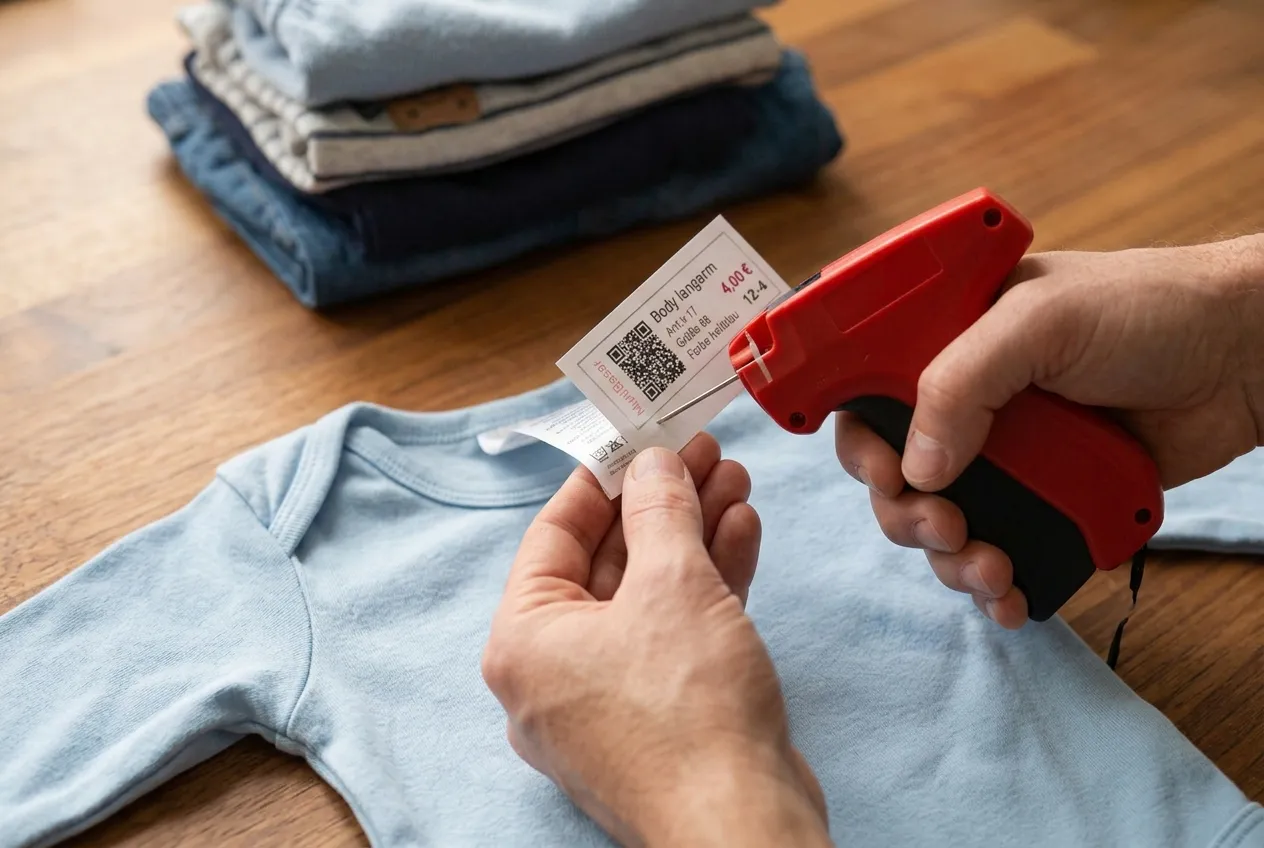
The routine per item:
- Pre-punch the label – with a hole punch for thick cardboard; on card stock the needle goes straight through.
- Grab the care tag, hold the card against it, needle through both, squeeze.
- Check the fastener. The label should hang freely, not tight. A fastener that’s too short turns the label on its side, and the QR code no longer lies flat at the till.
For bundles – five bodysuits, three pairs of socks, a puzzle in a bag – attach the label to the bag or the top item and pull the fastener through the bag’s zip as well. One price, one label, one grab.
The needle is sharp. Cap it after the evening, and keep the gun out of reach of the kids whose clothes you’re selling.
Needles yes, safety pins no
The article with tips for sellers says safety pins have no place on the goods. That still holds: an open pin in a pile is an injury risk, and a hole in the middle of the fabric lowers the value. The tagging gun avoids both. After the shot, only a soft plastic fastener remains, and if you go through the care tag there is nothing anyone will see later.
The organizer still has the last word. Some bazaars explicitly require tape or tag holders, often because that has worked well for them. In the app you’ll find those instructions on the bazaar under Info & directions – read them once before you tag 80 items.
What it changes at checkout
At the till, someone scans your QR code while a queue builds behind them. A label hanging freely on a fastener can be turned flat under the camera with one hand. A label glinting under tape or curled around a sleeve takes three tries. Multiply that by 400 items and it’s the difference between a till that flows and one where the buyers get impatient.
And for you it means: no tape residue on the dark jacket, no label that falls off during the third round of rummaging and turns your item into an orphan. It hangs until someone buys it.
Frequently asked questions
Does a tagging gun leave a hole in the clothes?
Not if you shoot the fastener through the care tag or a seam. The weave is dense there and the puncture is invisible. Never go straight through the fabric – on fine knits, silk and fleece that can leave a visible run.
Can I use a tagging gun at every bazaar?
Almost everywhere, but the organizer’s rules come first. Some bazaars require tape or tag holders. Before you start, check the bazaar in the app under “Info & directions” – that is where the organizing team’s instructions live.
Where is the best place to attach the label?
On clothing, the care tag at the neck or in the side seam; on trousers, the waistband tag. Leave the fastener long enough for the label to hang freely with the QR code flat – then the till reads it on the first try.
Transparency: the links marked “affiliate link” lead to Amazon. If you buy through them we receive a small commission – the price doesn’t change for you. As an Amazon Associate we earn from qualifying purchases. More partner offers for sellers are on the Benefits page.